Lately I’ve been tinkering with home automation, and I wanted to see if I could do something smart with an Amazon Dash Button. They do have official IoT versions but the Dash ones are easy to hack into something more useful and are sometimes on sale for $0.99, so it’s definitely worth trying out.
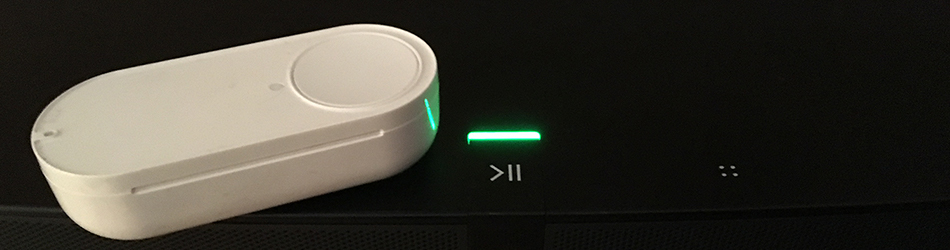
I have a vinyl record player hooked up to my Sonos via line-in, and every now and then when I head over to put on a new record I find that I was playing something else before. So now I have to go get my phone, open the Sonos app and choose the line-in input. That’s not good, I want to be lazy! So enter a the Dash button, a simple device that can help us get rid of pesky apps.
For this to work there are a few pieces of software needed. I run this on a Raspberry Pi, but you can run it on anything essentially. The first software you need is Dasher and it’s very useful scripts.
git clone https://github.com/maddox/dasher
cd dasher/scripts
Run the find_button script to get your Amazon Dash Button’s MAC address, we’ll need that to identify what Dash button is
being pressed (we can have many Dash buttons that do a lot of different things).
After starting the script, press your Dash button and you should see something like this:
./script/find_button

Watching for arp & udp requests on your local network, please try to press your dash now
Dash buttons should appear as manufactured by 'Amazon Technologies Inc.'
Possible dash hardware address detected: ac:63:be:d6:8a:33 Manufacturer: Amazon Technologies Inc. Protocol: udp
Possible dash hardware address detected: ac:63:be:d6:8a:33 Manufacturer: Amazon Technologies Inc. Protocol: arp
Great! Now we have the MAC address. Let’s continue on with configuring Dasher and run it.
Create your own requestb.in and then substitute your own URL and MAC in a sample config/config.json like this:
{"buttons":[
  {
    "name": "Test Dash Button",
    "address": "ac:63:be:d6:8a:33",
    "url": "http://requestb.in/10oaa5x1",
    "method": "POST",
    "json": true,
    "body": {"is_this_working": "yes"}
  }
]}
Now run Dasher and test your button:
pi@raspberrypi:~/dasher $ sudo npm run start

> dasher@1.1.1 start /home/pi/dasher
> node app.js

[2017-01-05T20:48:27.134Z] Test Dash Button added.
[2017-01-05T20:48:36.050Z] Test Dash Button pressed.
Yay! Success! If everything worked correctly you should also have seen a new POST coming into the requestb.in address. Now we can get started on the Sonos integration. For that you’ll need the sonos-node-http-api.
After installing and running that it will auto-discover your Sonos units, making it easy to send commands to them. Test it by having your Sonos UI open and doing the following:
pi@raspberrypi:~ $ curl http://localhost:5005/yourroomname/linein
{"status":"success"}
Your Sonos player should now have changed over to line-in instead of whatever was playing before. Awesome!
So now all you need to do is connect these two services. You can use this example config file for Dasher:
{"buttons":[
  {
    "name": "Play some Sonos Vinyl",
    "address": "ac:63:be:d6:8a:33",
    "url": "http://localhost:5005/yourroomname/linein",
    "method": "GET"
  }
]}
That’s it, nothing more to it. You now have control over Sonos using a little awesome button from Amazon for less that the price of a coffee. Enjoy!
Extra points
To run Dasher and the Sonos API as services you could use many of the available Docker images. I’ll leave that as an exercise for the reader.